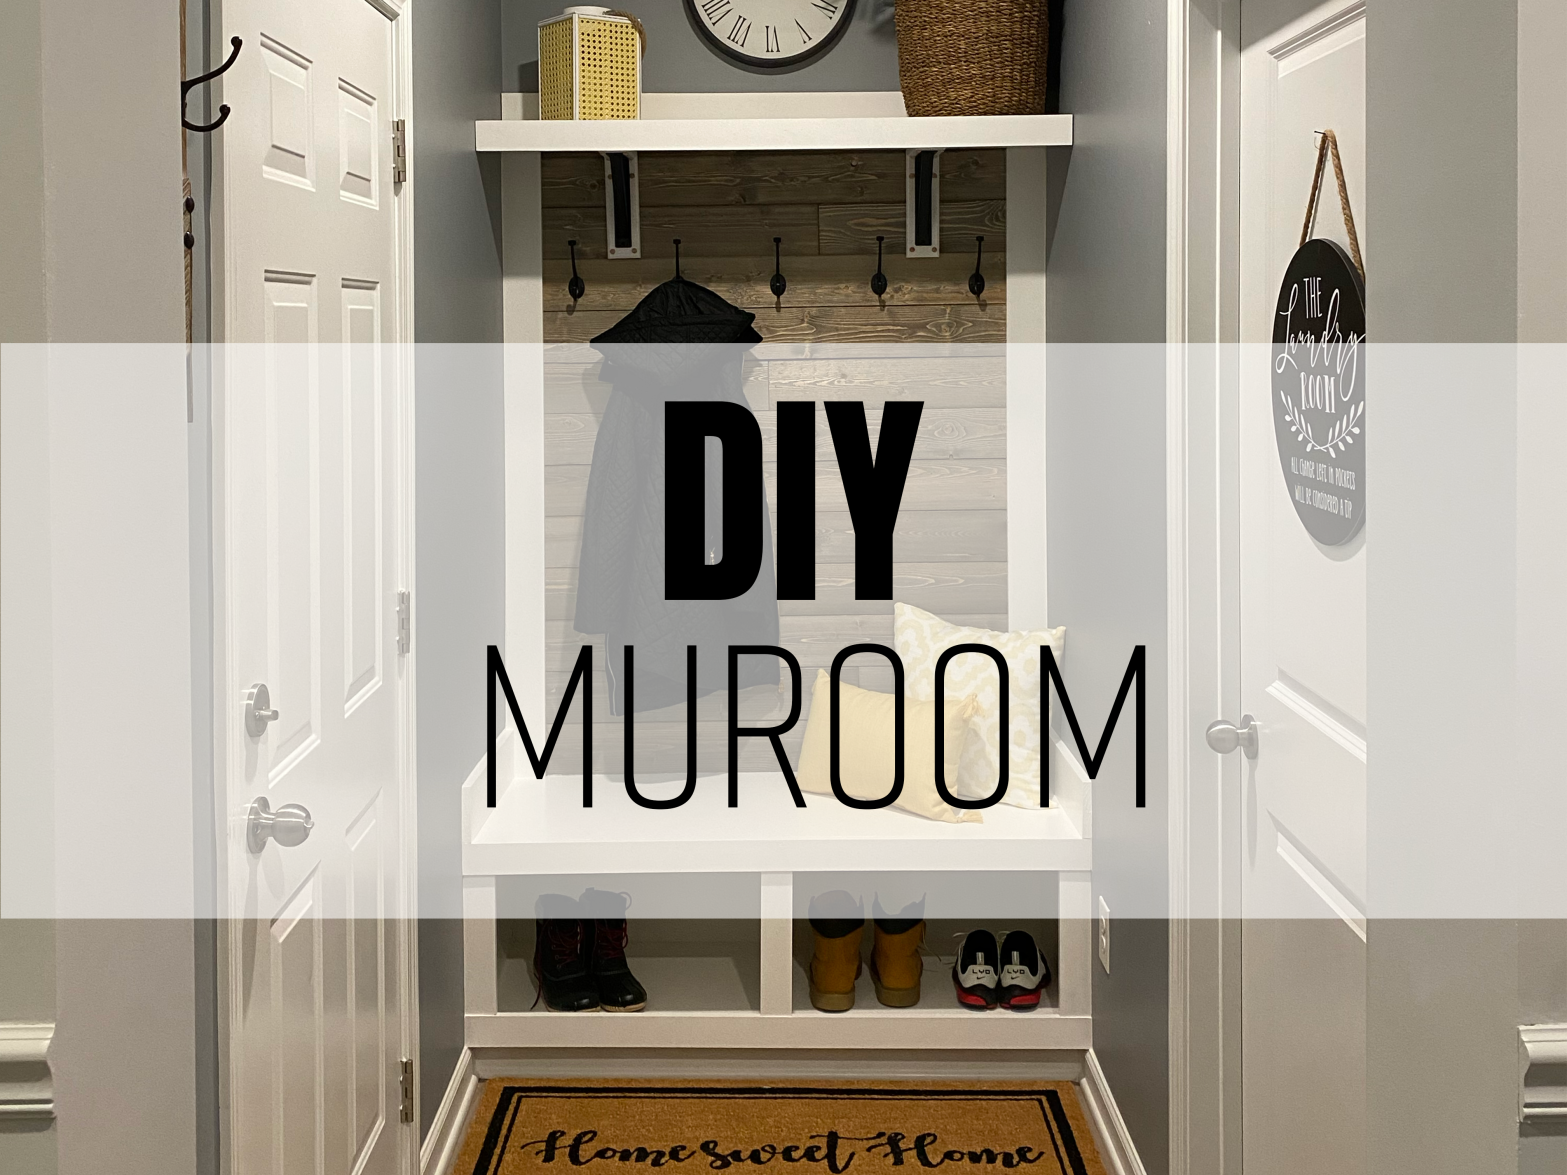
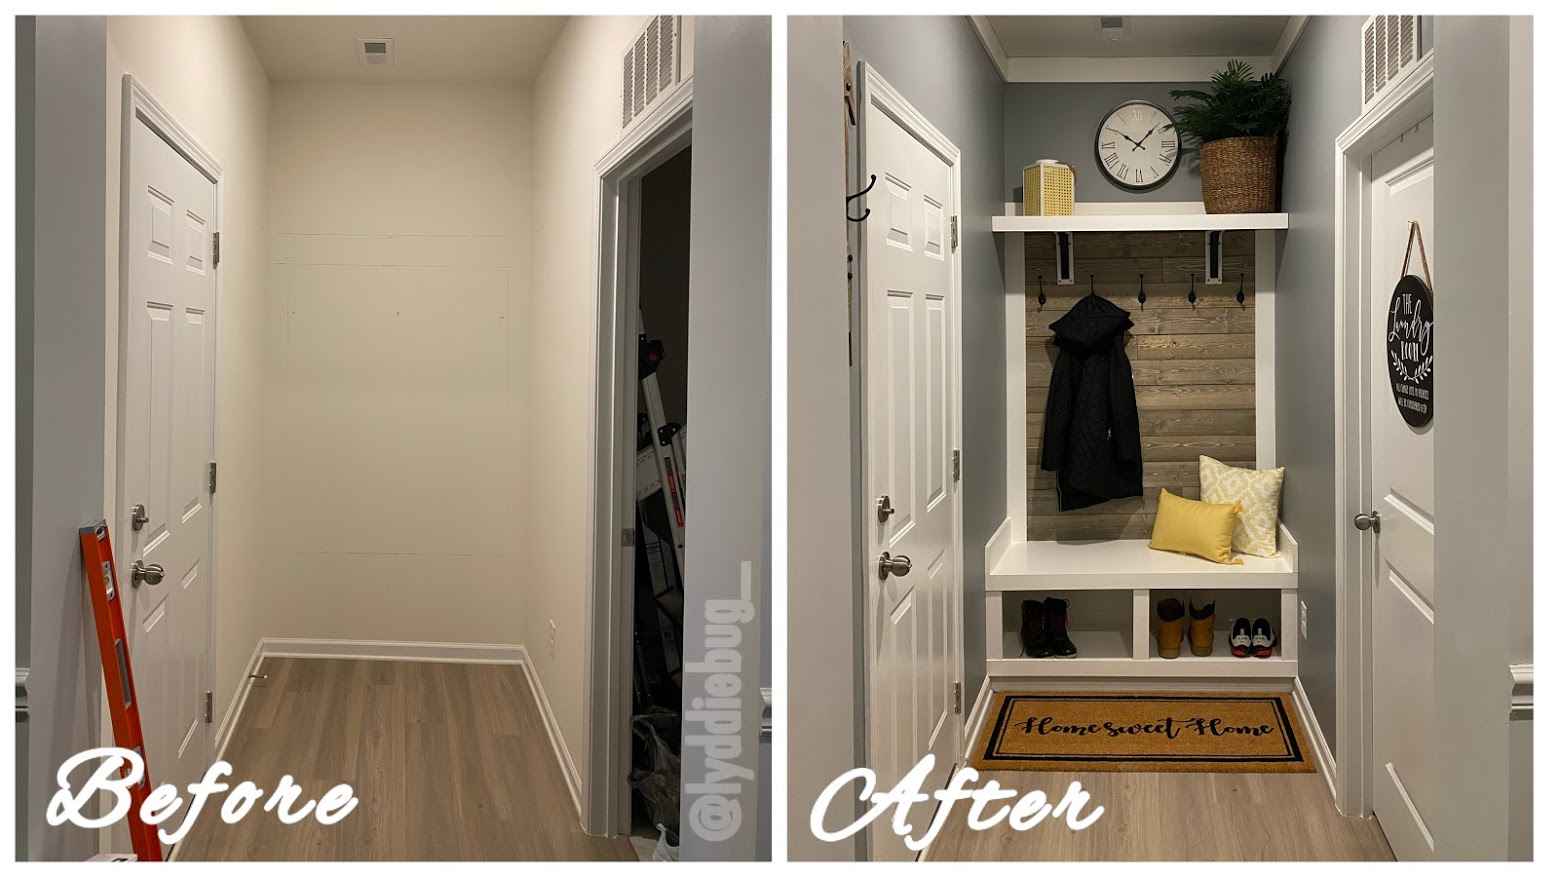
If you’re like me, I don’t wear shoes in the house and having a home without a coat closet or a place to store shoes, I needed a solution! A coat rack didn’t work, and there just wasn’t anywhere to put a shoe rack without it looking weird. The thought of building in a closet crossed my mind, but I wasn’t sold on that. In the midst of all this thinking, I started to envision the landing space between my garage door and laundry room and realized it would make a perfect, built-in mudroom.
Here’s a peek into the process. At the end you’ll discover approximately how much this transformation cost, including an estimate of how much the materials cost. I think the overall cost will amaze you!
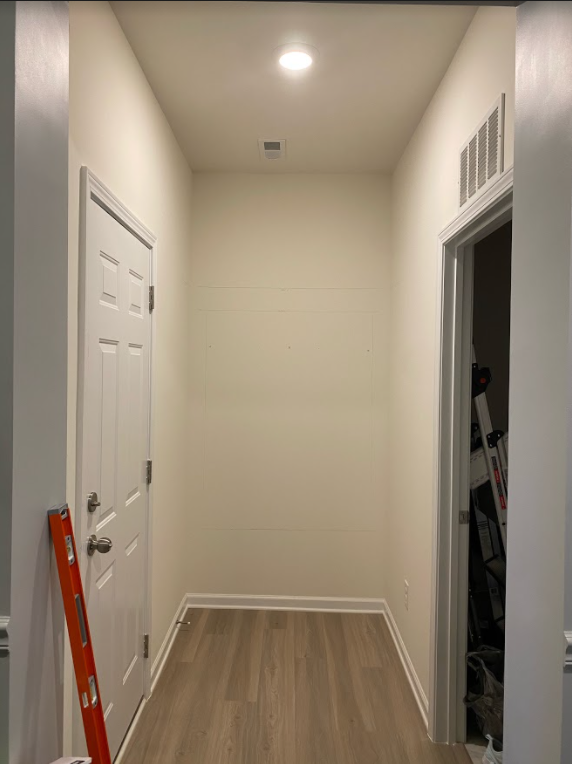
PHASE 1: Baseboards, Paint, and Shiplap
The first step was to remove the baseboards, paint the space, and install the shiplap boards which we found at Lowe’s for only about $25 each set (we purchased 2). I later decided to put some trim around the top of the walls.
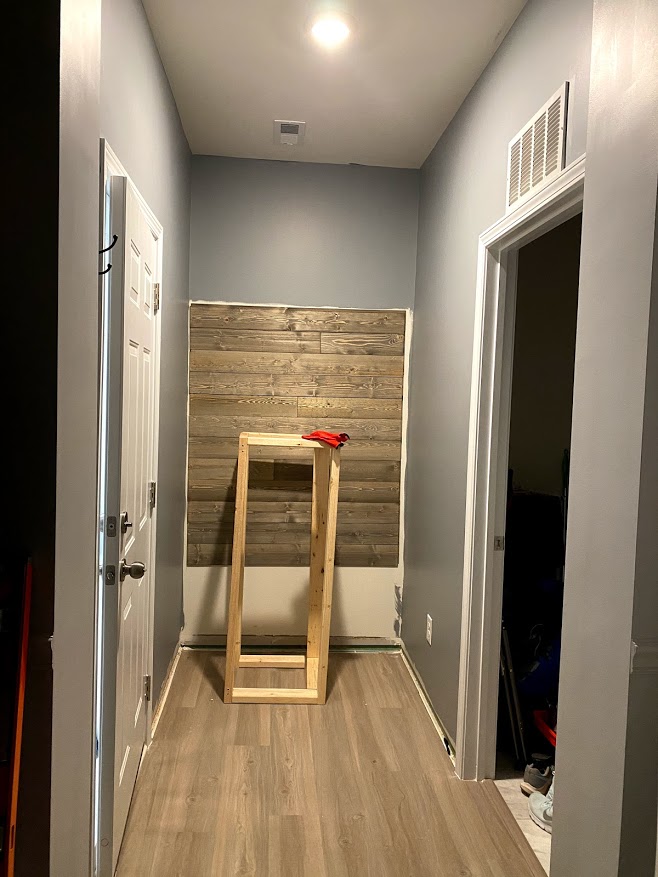
PHASE 2: The Bench Frame
The frame for the bench was built with some traditional 2×4 pieces of wood, custom cut to fit. After doing more research, I learned a lot about pocket holes and the importance of them so I purchased a Kreg set online at Home Depot and later picked it up. It was the simplest, yet most satisfying experience out of each step of doing this build.

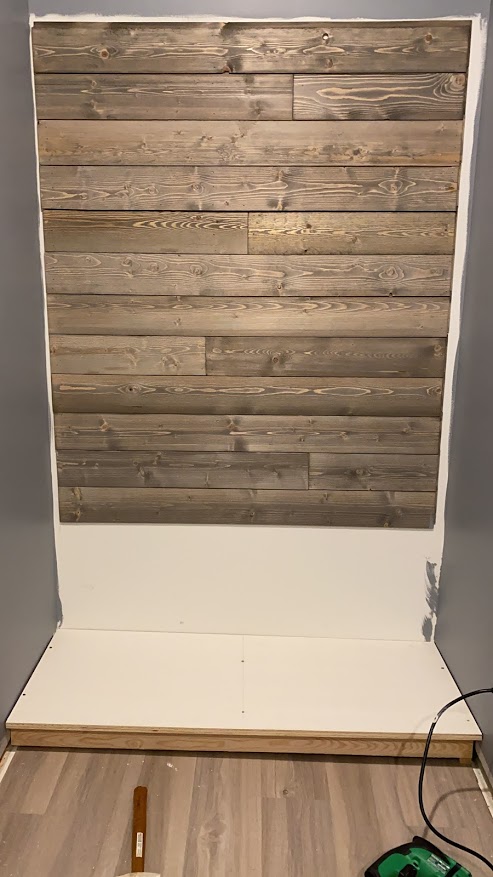
Once the frame was built and secure, I placed a piece of plywood that was cut to the proper dimensions and installed it into the beams of the frame with some wood screws.
Framing Tip: A mallet is a great way to get the framing into the space so it’s as flush as possible with the back wall, but still remaining straight. A hammer can potentially leave blemishes in your substrates.
We had to place some shims under the frame because the floor had a slope of just over 1/4″…….EEK. As I was getting this part done, James was busy in the garage putting together the table saw so we could custom cut large pieces of plywood.
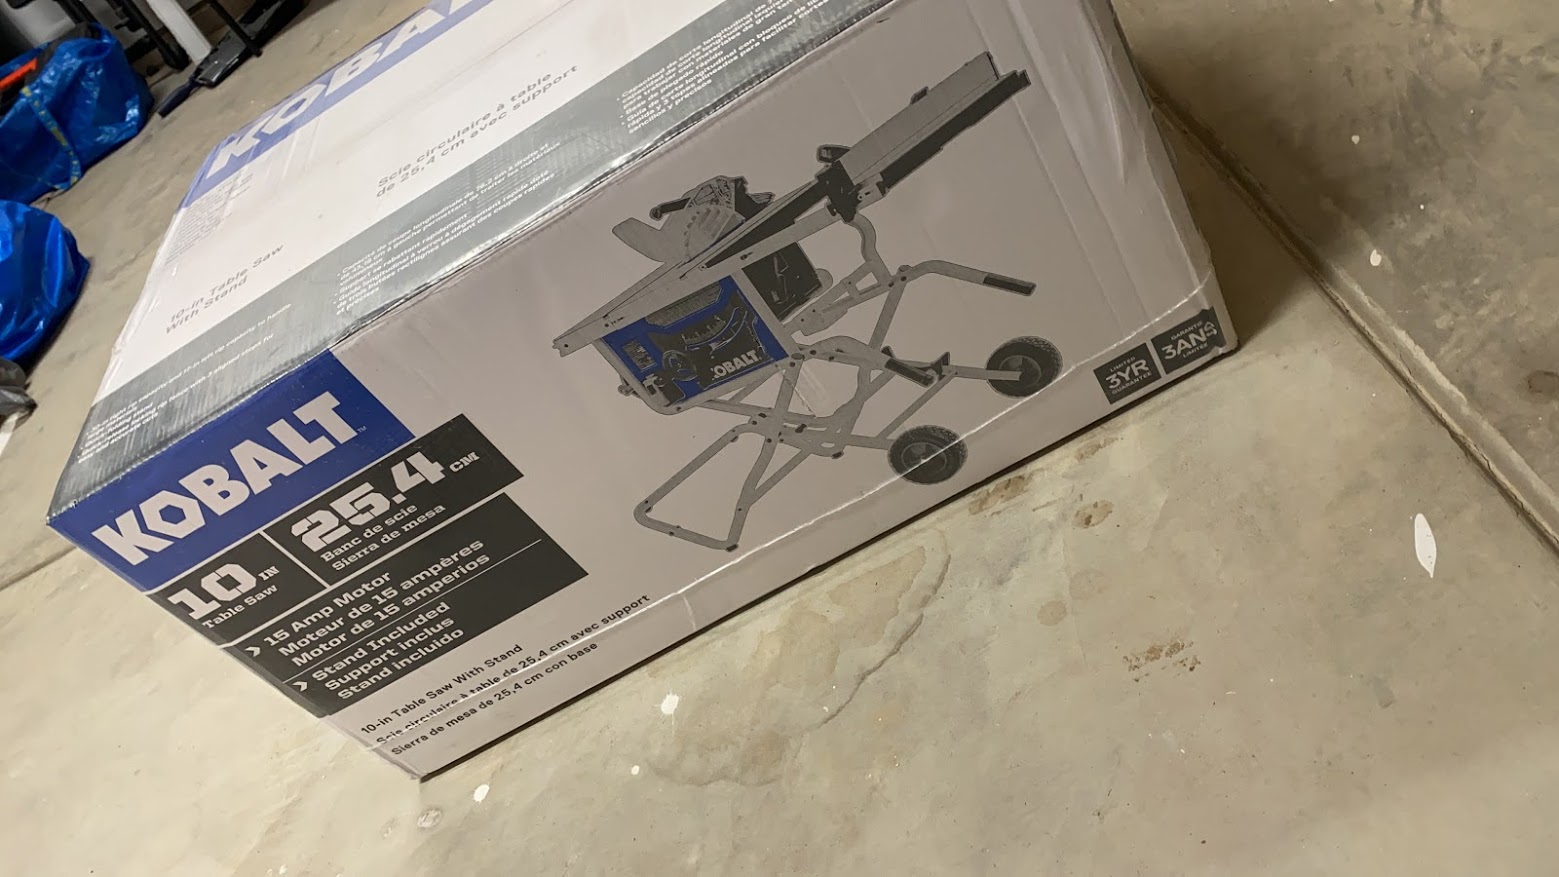
Ever since buying my home, I’ve become a Craftsman brand loyalist, but Lowe’s was sold out of the Craftsman table saw which led me to honestly a better option in Kobalt. This thing is super sturdy and I was pleased with its performance. There was a tutorial on YouTube that made it way easier to build by the way…the paper instructions weren’t the easiest to follow.
Table Saw Tip: Make sure you buy a blade that’s best for the substrate you’re cutting. For example, if I didn’t purchase a blade designed to cut softer woods, like plywood, then I would’ve had more ridged edges which would’ve created more work by way of having to sand the edges.
PHASE 3: The Bench
Each piece of the bench had to be custom cut in order to ensure it would be level. We had to measure each back corner and front corner and draw the shape we needed to cut, which the table saw really came in handy for accomplishing! At the end of it all, the bench was level and secured with pocket holes all around.
Little did I know, the table saw was going to come in handy for more than just cutting larger pieces of wood. Be sure to check out my post about the lessons I learned from doing this custom build for more about all of the custom cutting we had to do to ensure each piece would fit!
Build Tip: The back wall of the bench is anchored into the wall since there was only one beam to the far left of the space. Anchoring it in allowed us to have confidence in the overall sturdiness of the bench. This isn’t necessary, but something we thought would be best to do.
PHASE 4: Hardware and Decorative Framing
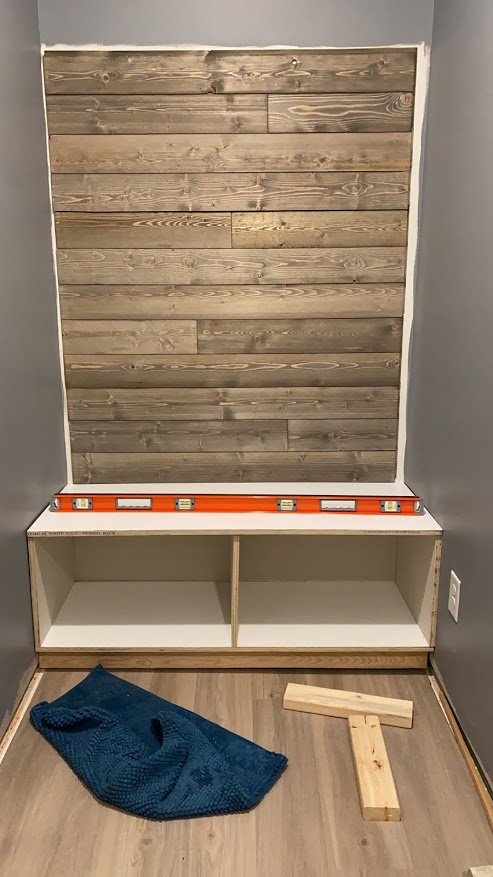
After the bench was in, we installed the hardware, the framing, and the top shelf. For the shelf L-brackets, we installed anchors to ensure they would be nice and secure. The framing also adds a nice touch and is a great way to cover up the imperfections.

PHASE 5: Baseboard & Face Frame
The framing continued along each side of the bench, which I thought gave it more of a bench-like feeling. In addition to that, we also had to measure and custom cut each piece of the face frame for the bench itself. Since this was being built right into the space, to secure the face frame I placed wood glue along the frame and once it was secure and level, I used my nail gun very precisely to secure the face frame into the foundation of the bench. This is tricky!
Nail Gun Tip: Holding the nail gun nice and straight and holding it firmly will help ensure it’s going straight into the piece behind it. Make sure you’re marking the middle or that you have high confidence of knowing where it is! There’s nothing worse than putting it in crooked and having to try to remove it. It’s a pain!

You’ll also notice the baseboards! That was installed right before the face frame went in, and I must say that the slope of the floor disappears!
DIY Tip: Utilize the same floor molding that you removed, and simply cut the sides down to fit. This will save money AND time! All it requires is some caulking, nail hole filling, and a quick touch up of paint. For this project, I used the same paint for the trim and the framing.
PHASE 6: Smoothing it All Out
From here, things get a little tedious. The entire framing had to be caulked and the nail holes had to be filled. Although caulking is a slow job, it’s super important and is what makes all the difference in the final look of the project.
PHASE 7: Final Coat
Once the caulk dries, give all of the framing and the bench top another coat of paint and let it dry before adding your decor and other pieces.
I’m in awe with how this space turned out, and cannot wait to start the next project!
Be sure to subscribe to my blog for more DIY content!
List of Materials (excluding tools):
- Walls: Valspar Signature Eggshell (color: Drizzling Mist)
- Bench and Framing: Valspar Cabinet & Furniture Paint
- 2″ x 4″ wood planks
- 2 pieces of sanded and primed plywood
- 3/4″ x 4″ white trim
- 3/4″ x 1 1/2″ white trim
- Ready to install shiplap (Lowe’s)
- Hardware (Lowe’s)
- Paintable caulk
- Wood glue
- Paint brushes
- Paint rollers

TOTAL ESTIMATED
TRANSFORMATION COST
$545

