Featured

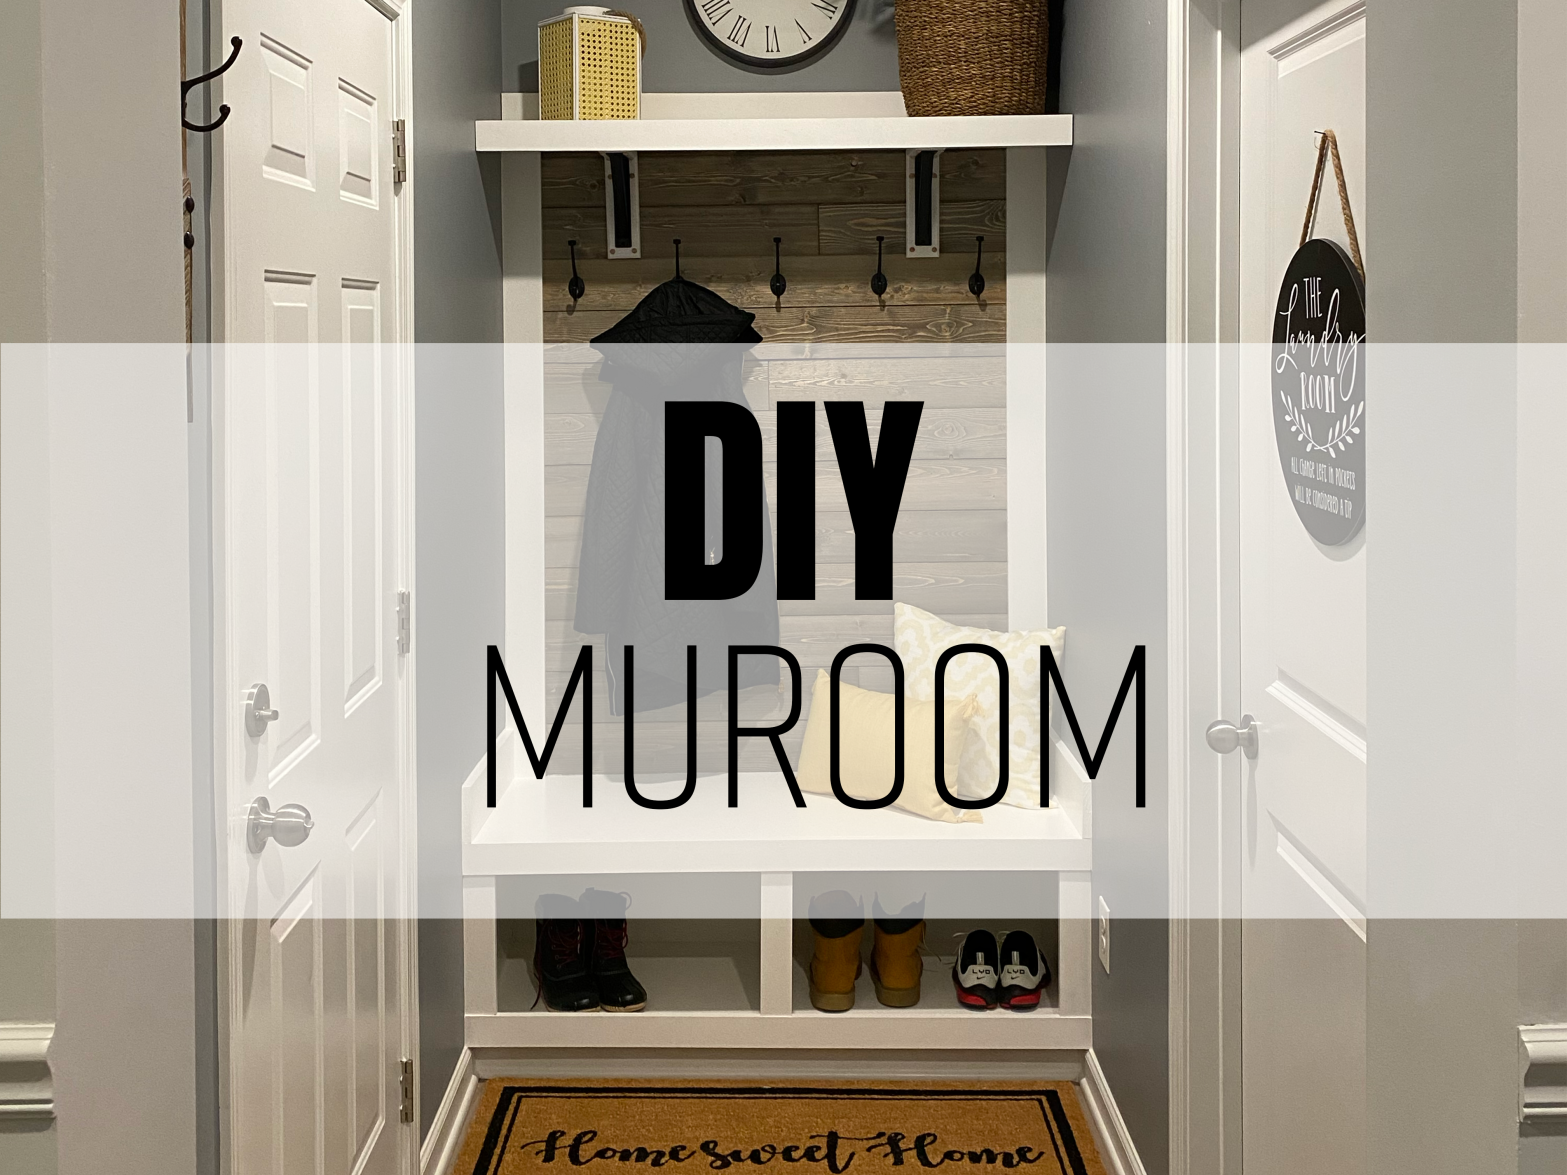
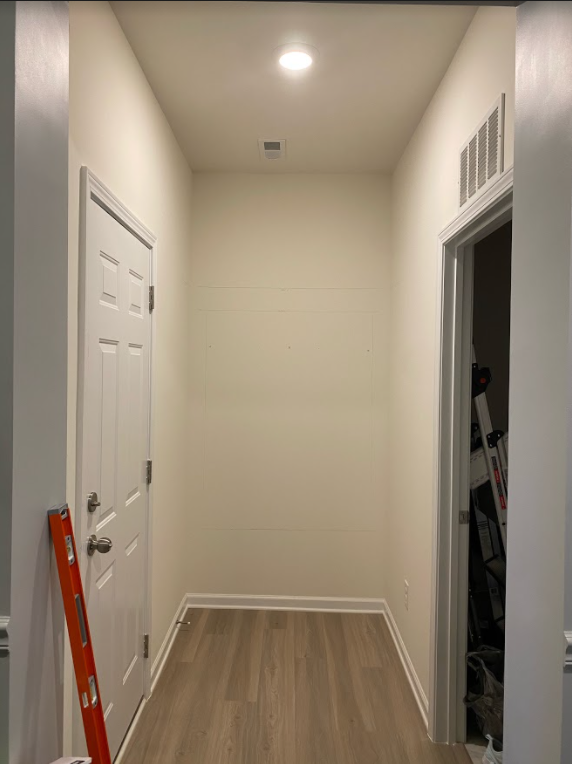
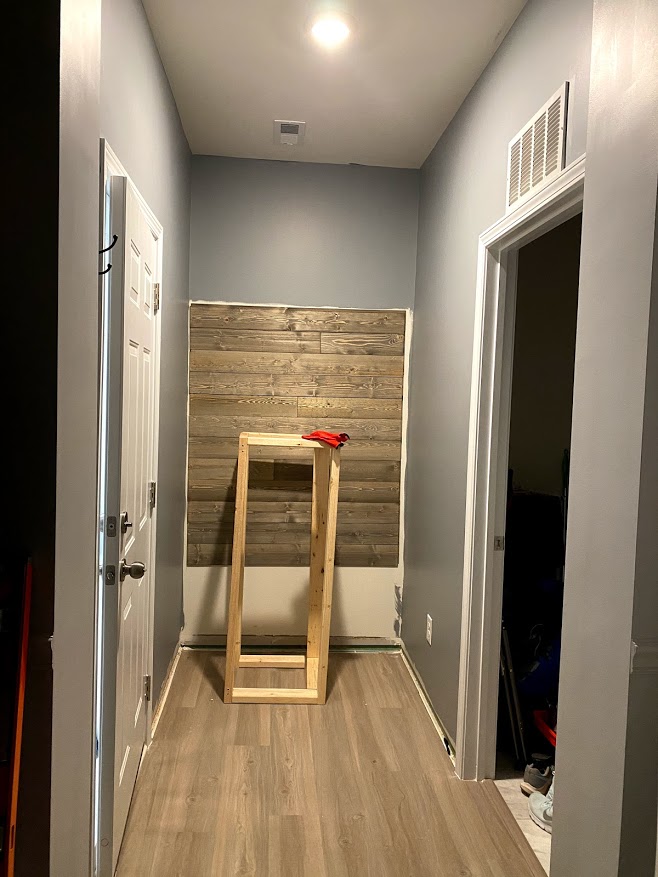
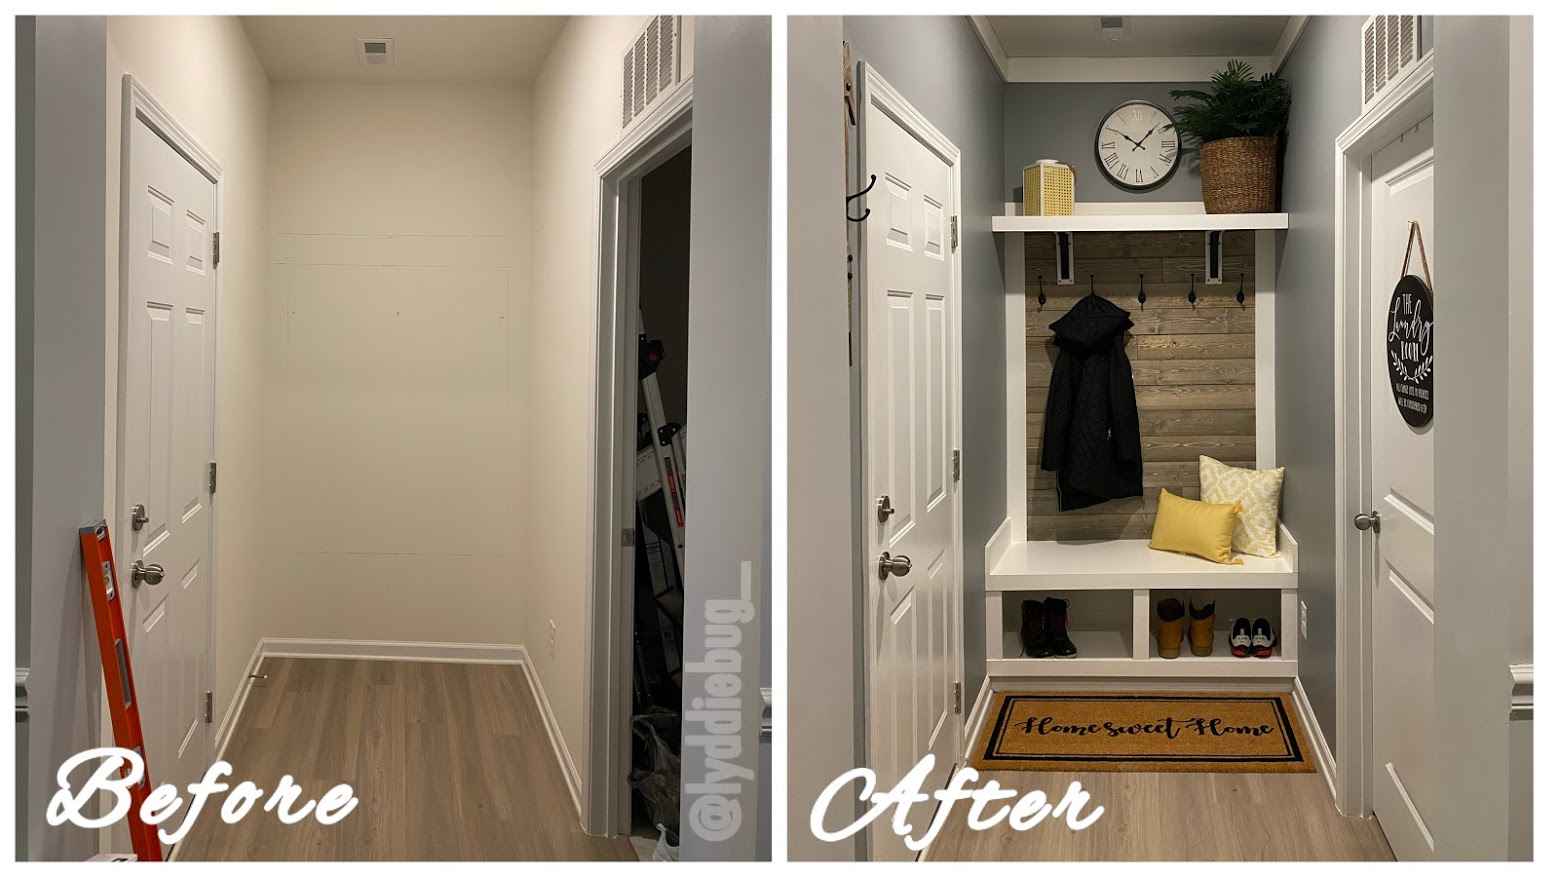
As with any new home, the laundry room was very plain and needed some love! While the room is spacious I, like most people, needed more storage. Hidden storage at that. I originally got a quote by a company that did my master closet, and the quote came in at just over $2,300.

I couldn’t bring myself to pay that much for such a small space. Not to mention, James kept telling me that it would be easy to do on our own and that we had the know how to get it done for far less. Several months passed, and after completing the hallway and the mud room it was time to tackle the laundry room. I hopped on my iPad, drew it out, and in a matter of minutes the design was complete and it was time to get started:

1. Remove the Hardware

A little destruction never hurt nobody! Taking down the wire shelving, while tricky, was a lot of fun. If you’re not familiar, the nails to the wire shelving support system are all anchored into the wall. We used a mini crowbar to wedge between the nail and the wall, and from there slowly wiggled them enough apart for the back of a hammer to fit. Once you can hook the hammer underneath, go ahead and pull forward slowly to remove the nail and the anchor.

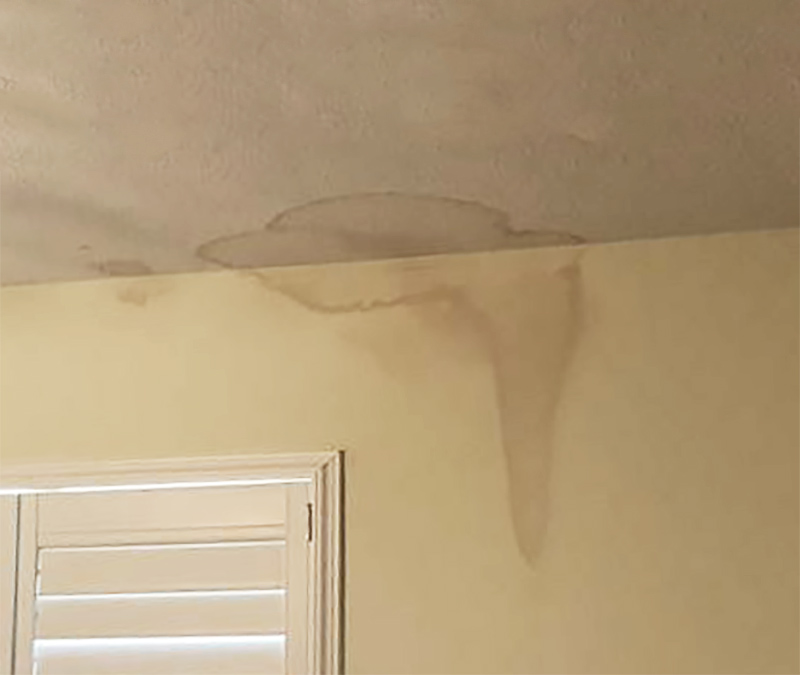
TIP: If you pull the nail and anchor out too fast, you could potentially create more wall damage than you’re anticipating to already fix. Slow and steady wins the race!

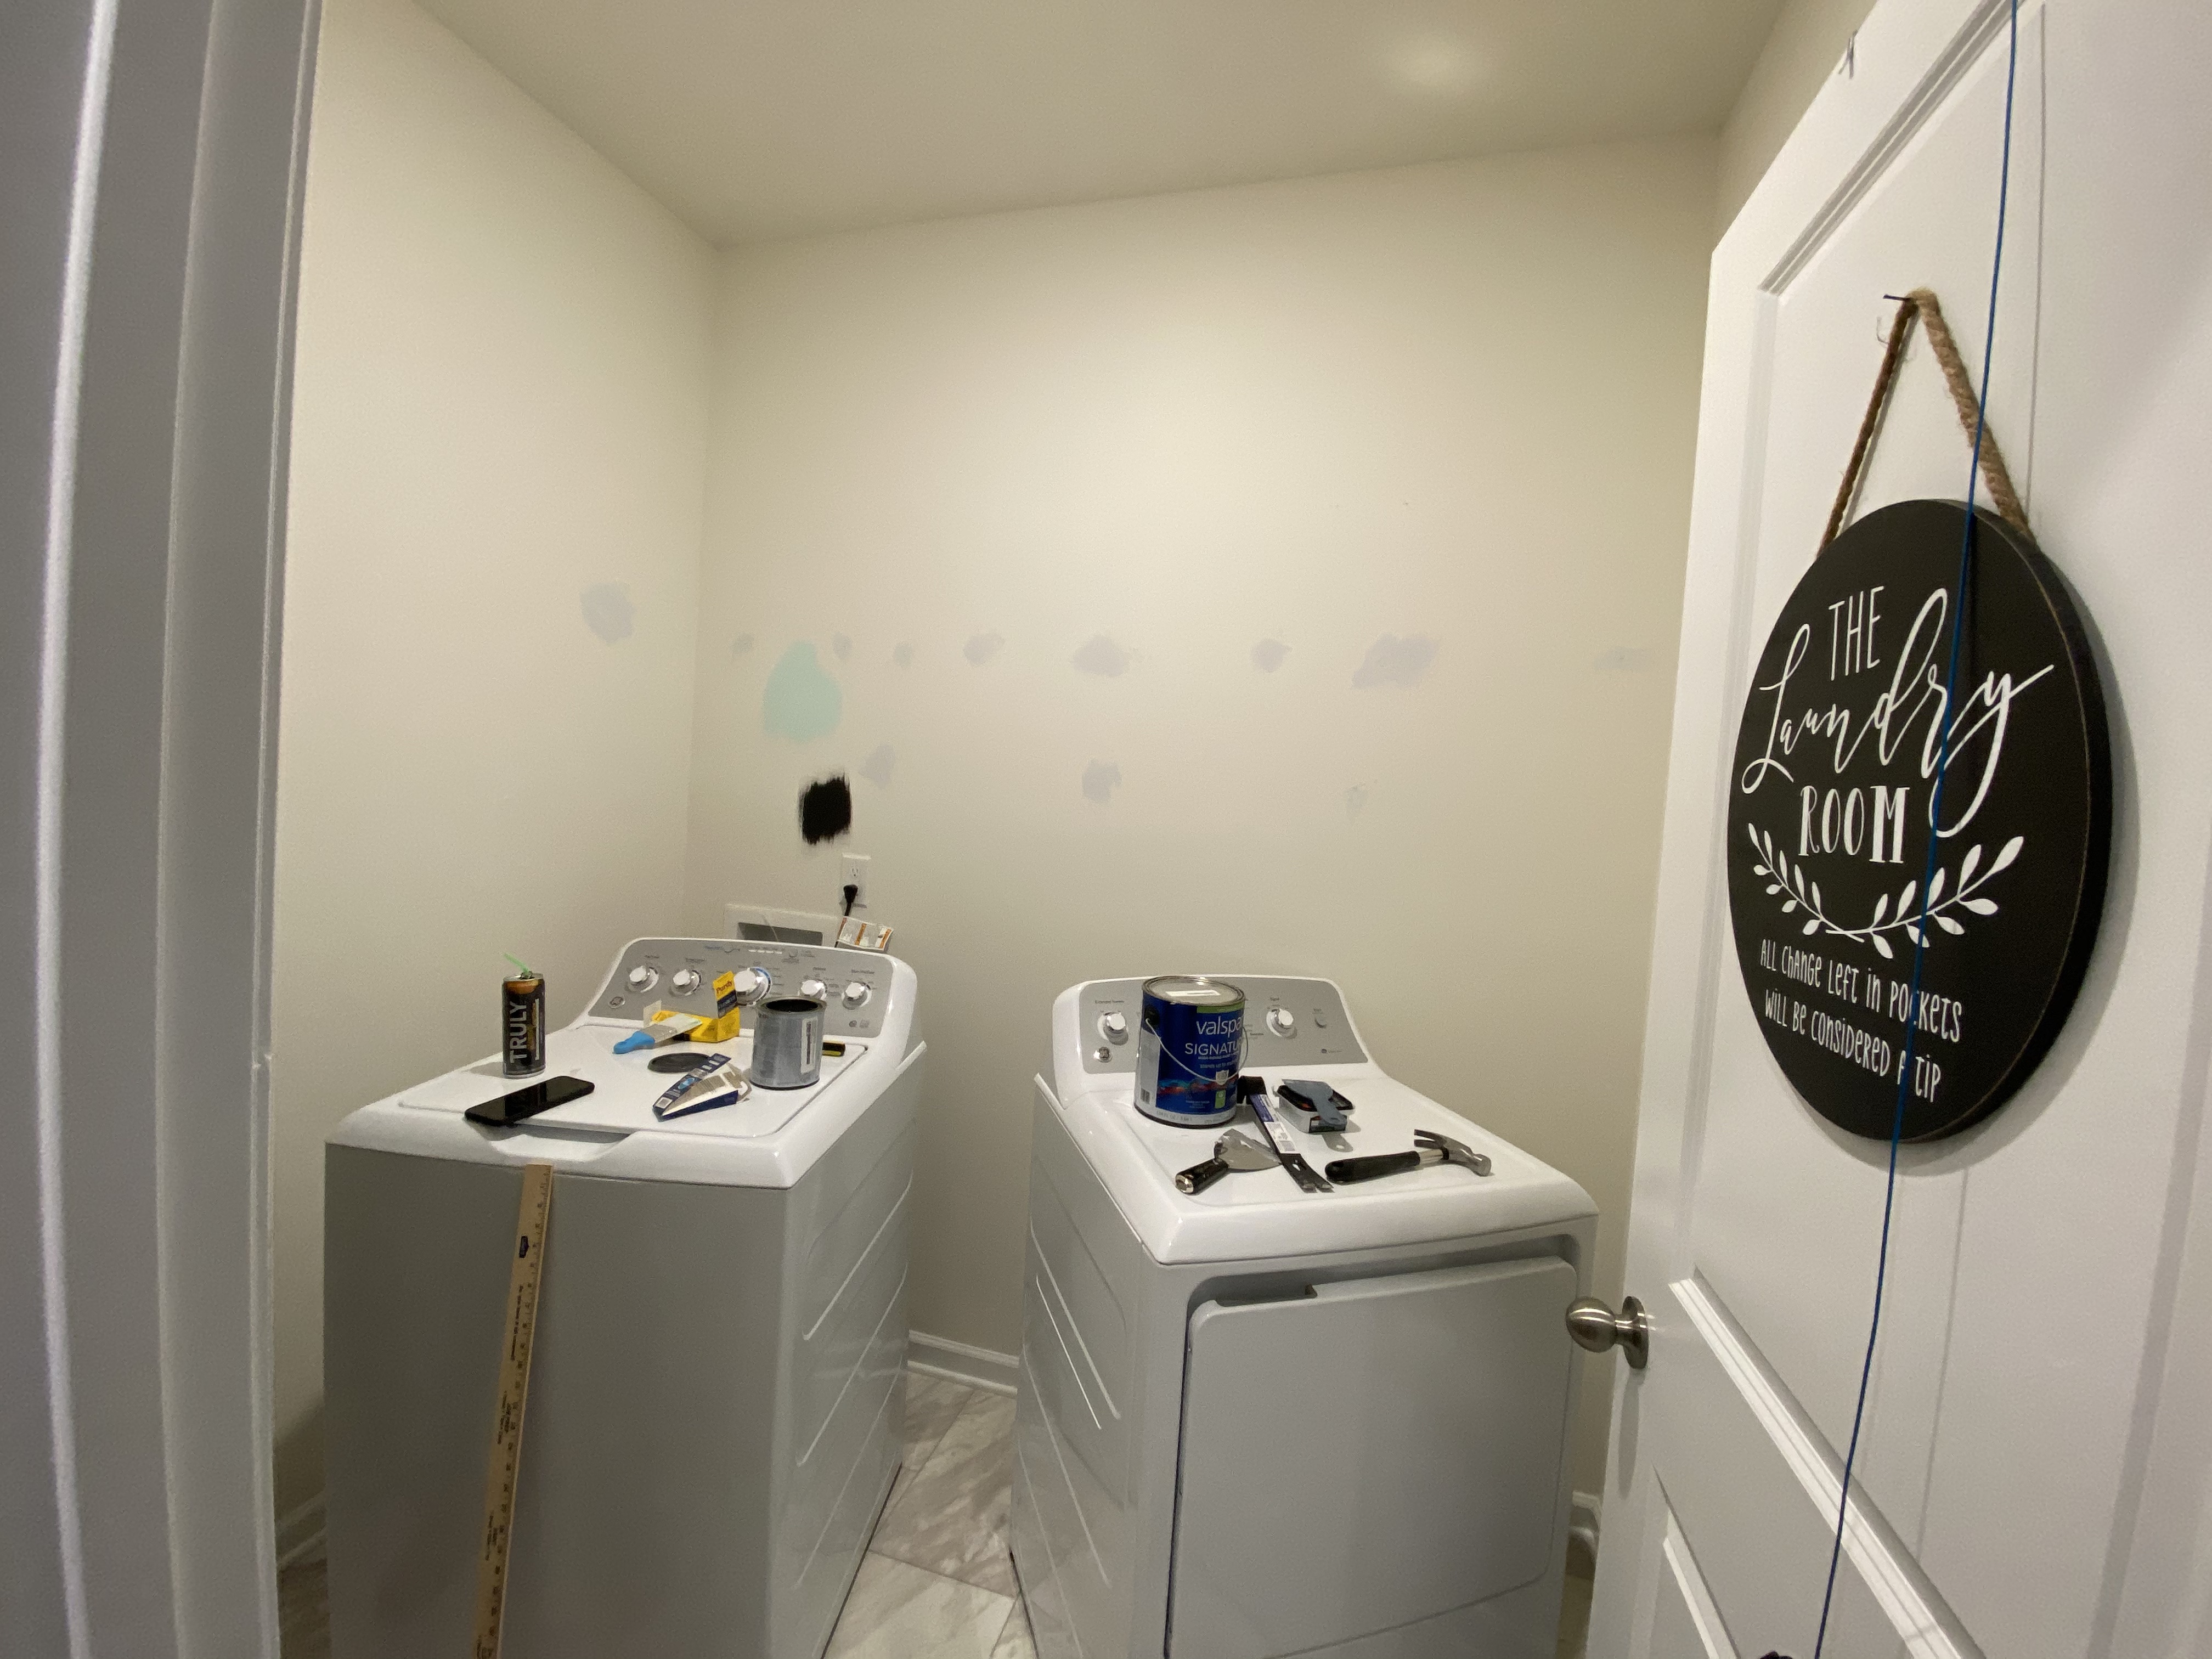
2. Fill and Sand the Wall

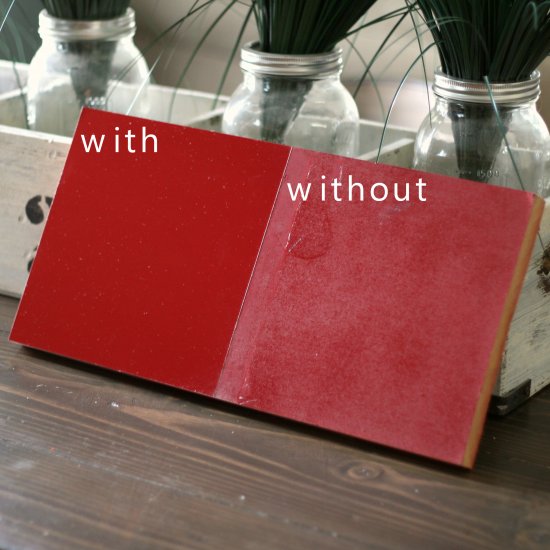
Utilizing some wall putty, a good putty knife, and ultimately a sanding block (220 grit) and some tack cloth – fill the nail holes generously, scraping the excess. It’s okay to leave a little more on than you think you’ll need because you’ll be able to sand it back flat later. Oh, and this is a good time also if you want to test some paint colors 😉

TIP: If you don’t put enough putty in each hole, as it dries it will countersink a bit into the hole, so don’t be shy with the putty or else you’ll find yourself filling multiple times which will only slow your project time down.

Not sure when the putty is dry and safe to sand? Purchasing a color changing putty can help! If you’re stuck with a not-so-fancy putty, put your finger over it. If it feels cool to the touch, it’s not dry yet.

Don’t forget, after you sand be sure to go back with a tack cloth to remove the dust!

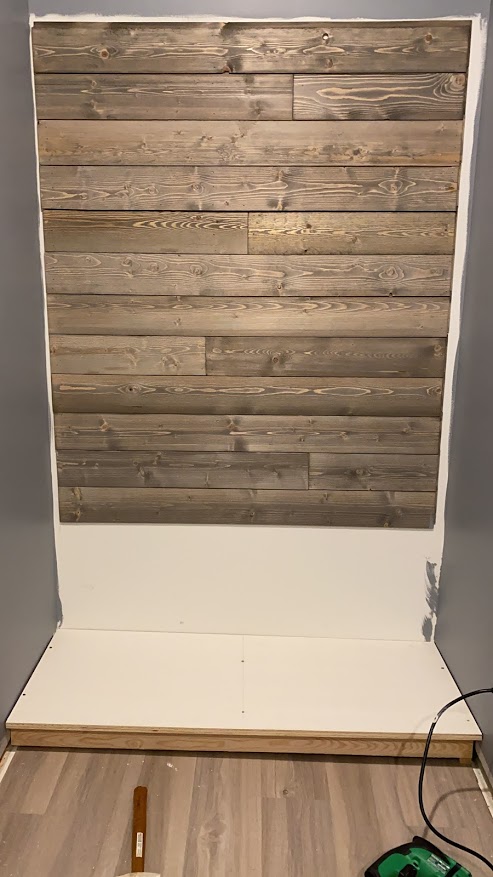
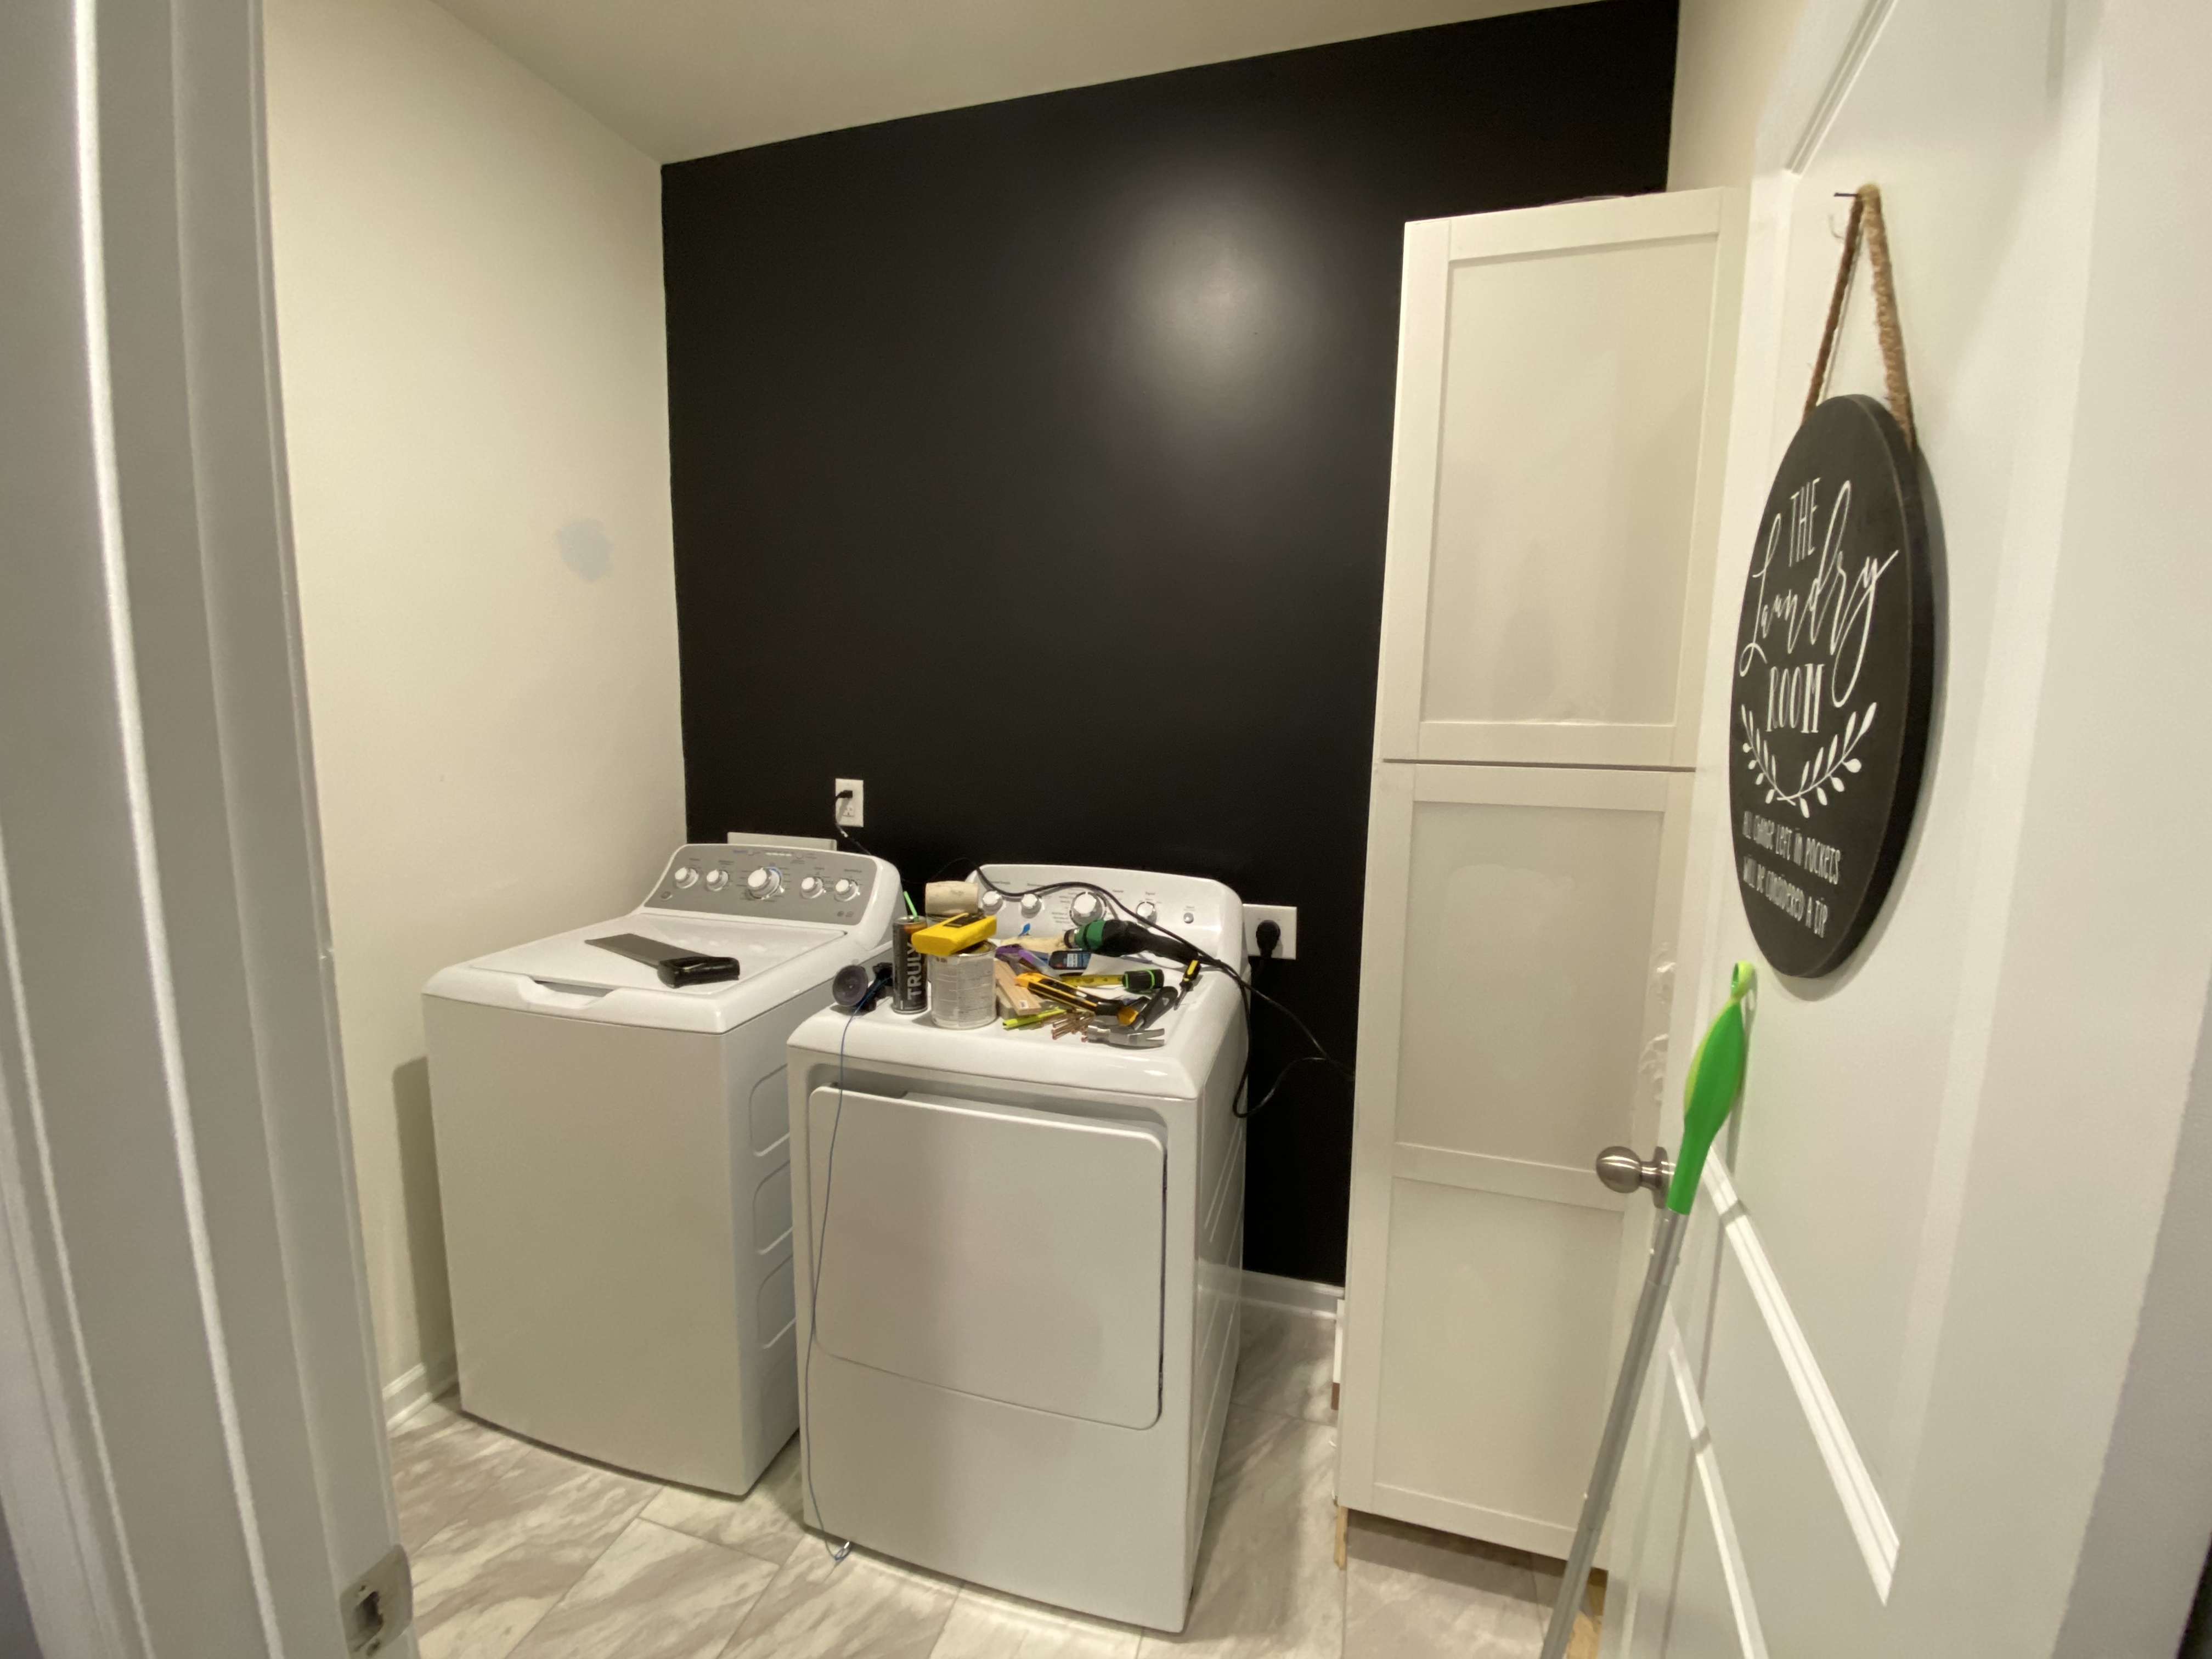
3. Paint the Accent Wall

Before installing any of the cabinets, I wanted to make sure the accent wall was complete. For this accent wall I went with Tea Kettle Black (Valspar) which is my favorite black. It has blue undertones which matches those in the gray we used in the hallways so it ensured the colors would flow together seamlessly. I only used a quart of paint for the accent wall, and although I almost ran out, it ended up being the perfect amount.

Don’t shy away from black walls! They’re so trendy and allow everything else around it to just….pop!

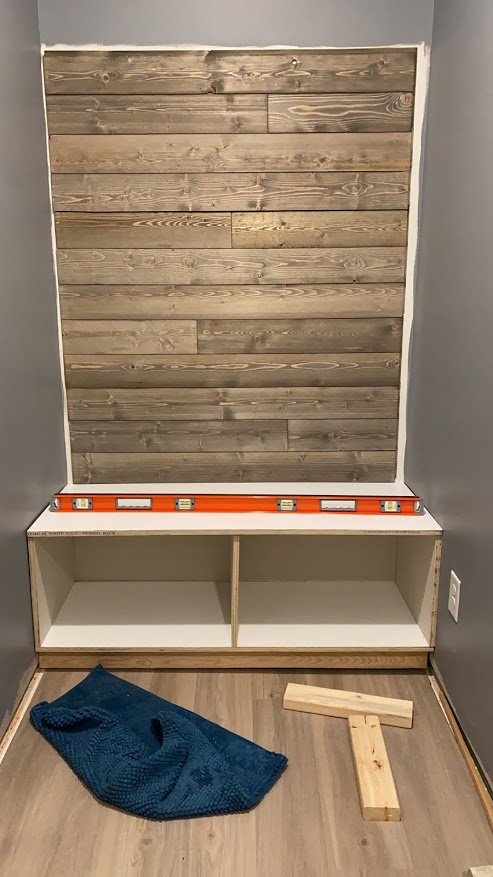
4. Cabinet Installation

I decided to purchase finished cabinets from Lowe’s. I leaned towards unfinished cabinets initially from a cost-savings perspective but decided that I didn’t want to risk having any imperfections and the finished cabinets presented much less risk. They were a bit more expensive, but in the end it was way worth it. All I had to purchase were the handles, which was actually a pretty fun process. I landed on handles that matched the doorknobs and other hardware throughout the house.

The installation process wasn’t as difficult as I thought it would be, but I will say…I’m grateful James was there to help because there’s no way I’d be able to install those cabinets on my own. Once they were installed, we got the hardware in place and they were all set. The amount of storage achieved by installing the cabinets is amazing!

TIP: When you find the stud(s) in the wall you’re going to utilize, measure out the distance from the wall and match that same distance on the back of the cabinet. From there you can drill from behind the cabinet which will ensure you hit the stud when you put the cabinet in place. In the event there aren’t any studs, strong wall anchors will do the trick!

To finish off the cabinet installation, don’t forget about adding new floor trim around any cabinets that meet the floor. Unless you don’t mind the unfinished particle board look…which I don’t think you will 😉

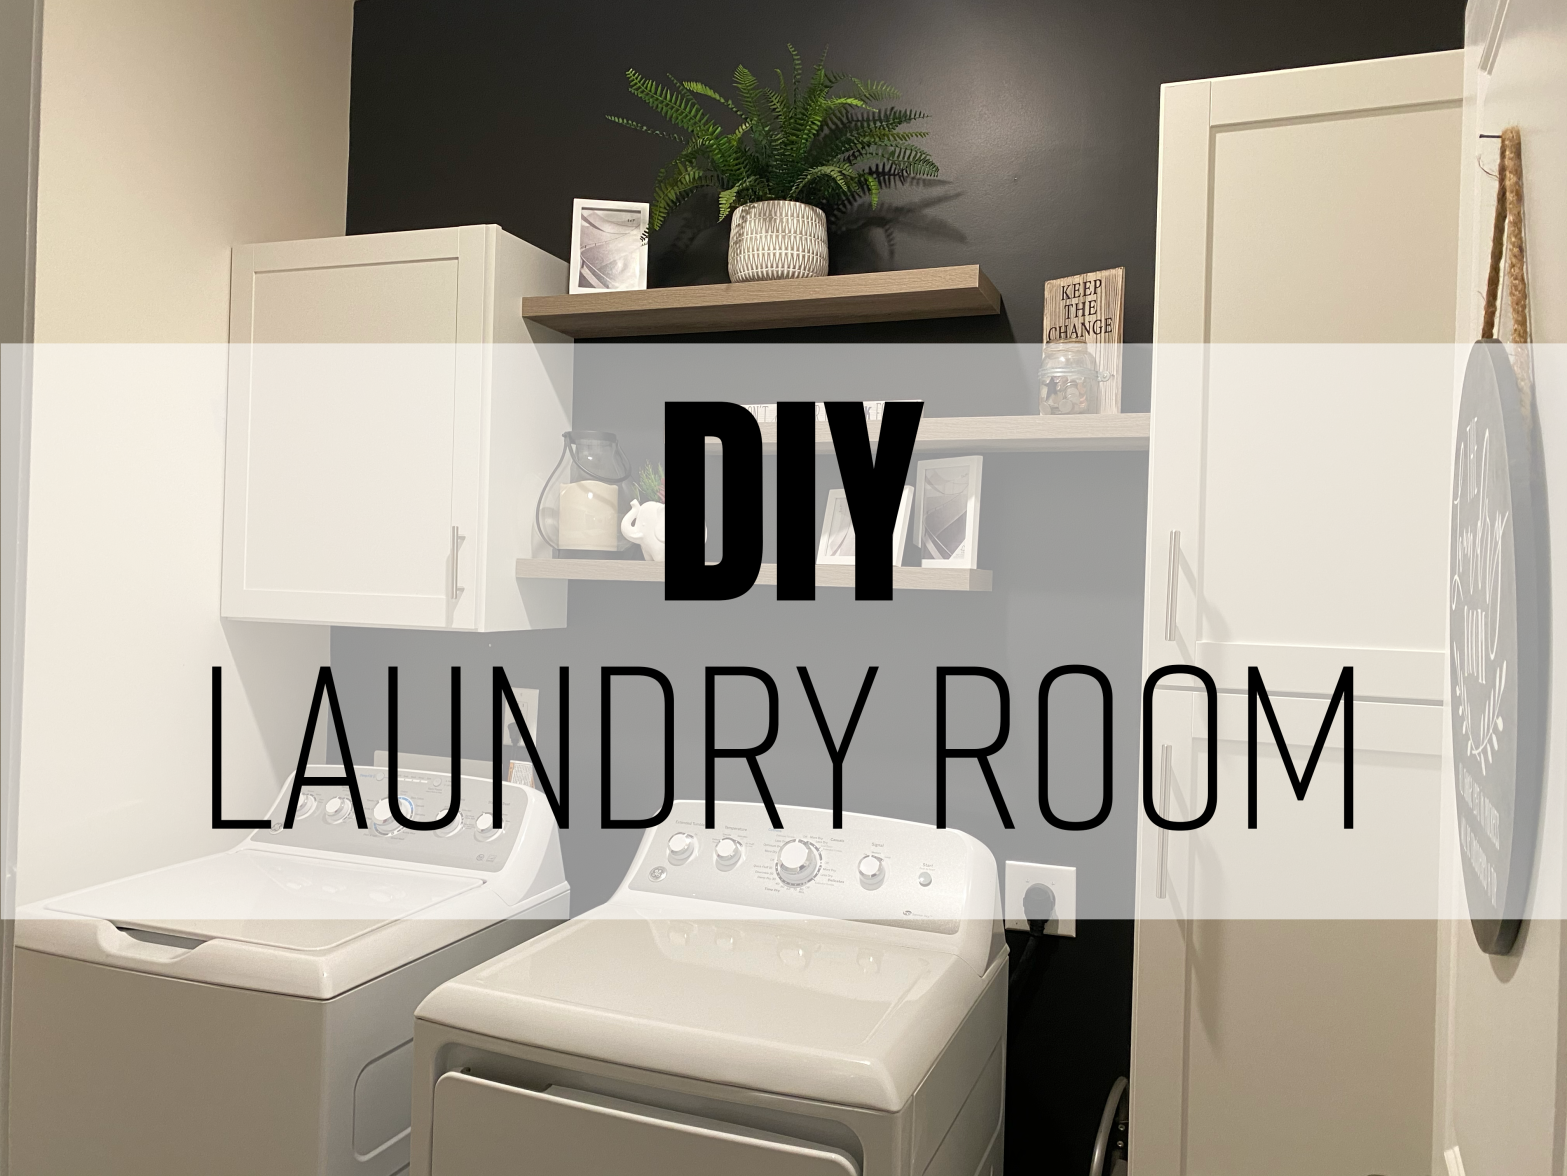
5. Shelves on Shelves on Shelves

I felt like placing a bunch of cabinets in the small laundry space would be overwhelming. Instead, I incorporated a few floating shelves into the design. It opens the space up nicely, and adds the perfect finishing touch. These are super easy to install and they look great!

Once the shelves are complete, the washer and dryer can go back in their place and it’s time to cleanup! The end results of this project amazed me…then again, all of these projects always amaze me! When you sit back and reflect on the work you were able to complete, without any professional experience, it brings with it a certain amount of joy.

If you’re thinking about tackling something similar, here is a list of products and tools we used:

Products Used:

  • Quart Valspar Signature, Egghsell
  • Acrylic Paintable Caulk
  • Wall Putty/Spackle

Tools Needed:

  • Mini-crowbar
  • Hammer
  • Putty Knife
  • Sanding Block/Paper
  • Tack Cloth and Gloves (your hands will get sticky!)
  • Paint Brush and Roller
  • Drill and bits
  • 10″ Wood Screws
  • Wall Anchors (if needed)
  • Phillips Head Screwdriver
  • Level
  • Tape Measure

Instead of spending well over $2k hiring a company, take it from me…YOU CAN do this.

Check out my post about the decor!

TRANSFORMATION COST

< $600

“I want the paint with the primer in it!”

Let’s be real, you’ve either said or heard the line “I want the paint with the primer in it.” Back around 2013 (or something like that), Behr came out with the first paint and primer in one wall paint. I actually had the pleasure of working for one of the ladies that introduced it to several hundred Home Depot stores in the southeast. Anyway, it took the consumer world by storm as the belief was that the can of paint they were purchasing was literally half paint and half primer. Through my learnings and truly understanding the chemistry in a can of paint, I learned otherwise. To answer an early question, no, paint companies are not lying.

Primers play an important role in the world of paint, and there’s no way that a can of paint can embody all of the characteristics a primer does. On the flip side, there’s enough room in the can to include a characteristic or two. Back in the day, wall paints could potentially “slide” off the wall after being painted. This was due to poor adhesion, which then led to the recommendation of a primer being used as a prep step for any paint job. When it comes to a paint and primer in one, what it essentially means is that you can apply the paint to a wall, without primer, and it will stick therefore meaning the property of adhesion is carried over. In the case of some premium paints, the first coat of paint can also seal in some stains on the wall which used to be unheard of.

I’m sure you’re wondering, “Do I ever have to buy primer?”

Absolutely! In the event you’re dealing with a wall that has a high gloss paint on it, water and/or smoke stains, bare wood, fresh drywall that’s just been installed, or if the surface is porous- primer is necessary for all of the above situations. Within their chemical makeup, primers contain a list of specific properties necessary to perform jobs that no singular paint can would ever be able to do. It would be like expecting a tablespoon of contents to fit perfectly within a teaspoon- it’s just not possible.

Truth be told, primers solve specific problems and companies are getting better at communicating what each can of primer will solve for you. Utilizing the front of the cans will guide you to the one you need. Remember, if it’s not specified there’s a specification around it and I’d recommend doing your research to ensure you’re purchasing a product that will actually do what you need it to do.

Did you know? Most primers have the ability to be tinted. This comes in handy if you’re doing a drastic color change in a regular-sized room. For example, if you’re transitioning from white to red, you can have the primer tinted with black to make it gray which will reduce the number of topcoats you need to achieve a uniform color, which ultimately saves you money. Here’s an example to put it in perspective:

2 Coats of Paint (or possibly more)

Mid-tier gallon of paint: $36

x 2 (minimum) = $72

Utilization of a Tinted Primer

Mid-tier gallon of paint: $36

+ $18 gallon of primer = $56

What type of primer should be used with specific conditions?

Water Stains => Stain-blocking Primer

High-gloss Paint => Bonding Primer

Bare Drywall => Sealing Primer or Drywall Primer

Bare Wood => Wood Primer

In most cases, a specific wood primer can be tough to find, a standard sealing primer would work just fine.

So, when can I just use a paint in primer in one paint?

The answer is simple…

Simple wall color/sheen changes, or any regular touch-up paint jobs.

I’m sure you can tell I believe in primer! I know it seems tedious and like a waste of time. At the end of the day, by using primers in the right way you’ll get the results you want for any project you tackle- yielding professional-like results! After all, your paint job is only as good as the prep work that went behind it! YOU CAN do it!

Questions? Feel free to leave a comment!

For more content like this, please like this post and subscribe to my blog 🙂

DIY: Custom Built-in Mudroom

If you’re like me, I don’t wear shoes in the house and having a home without a coat closet or a place to store shoes, I needed a solution! A coat rack didn’t work, and there just wasn’t anywhere to put a shoe rack without it looking weird. The thought of building in a closet crossed my mind, but I wasn’t sold on that. In the midst of all this thinking, I started to envision the landing space between my garage door and laundry room and realized it would make a perfect, built-in mudroom.

Here’s a peek into the process. At the end you’ll discover approximately how much this transformation cost, including an estimate of how much the materials cost. I think the overall cost will amaze you!

The landing space all marked up!.

PHASE 1: Baseboards, Paint, and Shiplap

The first step was to remove the baseboards, paint the space, and install the shiplap boards which we found at Lowe’s for only about $25 each set (we purchased 2). I later decided to put some trim around the top of the walls.

Progress pic! The wood piece was the start of what would’ve been the bench until we learned of the “proper” way to build a base.

PHASE 2: The Bench Frame

The frame for the bench was built with some traditional 2×4 pieces of wood, custom cut to fit. After doing more research, I learned a lot about pocket holes and the importance of them so I purchased a Kreg set online at Home Depot and later picked it up. It was the simplest, yet most satisfying experience out of each step of doing this build.

Once the frame was built and secure, I placed a piece of plywood that was cut to the proper dimensions and installed it into the beams of the frame with some wood screws.

Framing Tip: A mallet is a great way to get the framing into the space so it’s as flush as possible with the back wall, but still remaining straight. A hammer can potentially leave blemishes in your substrates.

We had to place some shims under the frame because the floor had a slope of just over 1/4″…….EEK. As I was getting this part done, James was busy in the garage putting together the table saw so we could custom cut large pieces of plywood.

Ever since buying my home, I’ve become a Craftsman brand loyalist, but Lowe’s was sold out of the Craftsman table saw which led me to honestly a better option in Kobalt. This thing is super sturdy and I was pleased with its performance. There was a tutorial on YouTube that made it way easier to build by the way…the paper instructions weren’t the easiest to follow.

Table Saw Tip: Make sure you buy a blade that’s best for the substrate you’re cutting. For example, if I didn’t purchase a blade designed to cut softer woods, like plywood, then I would’ve had more ridged edges which would’ve created more work by way of having to sand the edges.

PHASE 3: The Bench

Each piece of the bench had to be custom cut in order to ensure it would be level. We had to measure each back corner and front corner and draw the shape we needed to cut, which the table saw really came in handy for accomplishing! At the end of it all, the bench was level and secured with pocket holes all around.

Little did I know, the table saw was going to come in handy for more than just cutting larger pieces of wood. Be sure to check out my post about the lessons I learned from doing this custom build for more about all of the custom cutting we had to do to ensure each piece would fit!

Build Tip: The back wall of the bench is anchored into the wall since there was only one beam to the far left of the space. Anchoring it in allowed us to have confidence in the overall sturdiness of the bench. This isn’t necessary, but something we thought would be best to do.

PHASE 4: Hardware and Decorative Framing

After the bench was in, we installed the hardware, the framing, and the top shelf. For the shelf L-brackets, we installed anchors to ensure they would be nice and secure. The framing also adds a nice touch and is a great way to cover up the imperfections.

The framing, hardware, and top shelf are complete!

PHASE 5: Baseboard & Face Frame

The framing continued along each side of the bench, which I thought gave it more of a bench-like feeling. In addition to that, we also had to measure and custom cut each piece of the face frame for the bench itself. Since this was being built right into the space, to secure the face frame I placed wood glue along the frame and once it was secure and level, I used my nail gun very precisely to secure the face frame into the foundation of the bench. This is tricky!

Nail Gun Tip: Holding the nail gun nice and straight and holding it firmly will help ensure it’s going straight into the piece behind it. Make sure you’re marking the middle or that you have high confidence of knowing where it is! There’s nothing worse than putting it in crooked and having to try to remove it. It’s a pain!

You’ll also notice the baseboards! That was installed right before the face frame went in, and I must say that the slope of the floor disappears!

DIY Tip: Utilize the same floor molding that you removed, and simply cut the sides down to fit. This will save money AND time! All it requires is some caulking, nail hole filling, and a quick touch up of paint. For this project, I used the same paint for the trim and the framing.

PHASE 6: Smoothing it All Out

From here, things get a little tedious. The entire framing had to be caulked and the nail holes had to be filled. Although caulking is a slow job, it’s super important and is what makes all the difference in the final look of the project.

PHASE 7: Final Coat

Once the caulk dries, give all of the framing and the bench top another coat of paint and let it dry before adding your decor and other pieces.

I’m in awe with how this space turned out, and cannot wait to start the next project!

Be sure to subscribe to my blog for more DIY content!

What a difference! This landing space has been completely transformed!

List of Materials (excluding tools):

  • Walls: Valspar Signature Eggshell (color: Drizzling Mist)
  • Bench and Framing: Valspar Cabinet & Furniture Paint
  • 2″ x 4″ wood planks
  • 2 pieces of sanded and primed plywood
  • 3/4″ x 4″ white trim
  • 3/4″ x 1 1/2″ white trim
  • Ready to install shiplap (Lowe’s)
  • Hardware (Lowe’s)
  • Paintable caulk
  • Wood glue
  • Paint brushes
  • Paint rollers

TOTAL ESTIMATED

TRANSFORMATION COST

$545

The Journey: Purchasing My First Home

Have you ever wanted or needed something, at the completely wrong time? Well, that was me at the start of the journey but little did I know the universe had other plans. My lease was ending and it was time for me to decide if I was going to buy a home or continue to rent for another year. I decided, despite living through what was just the start of the COVID-19 pandemic, that I was going to buy. I called my long time girlfriend turned realtor, Laura, and told her I was ready to start looking seriously.

We spent days looking at homes. I found one I loved and put in my first offer and it got trumped by a cash offer. Over the next few weeks we checked out more homes, and two additional offers later I still hadn’t found “my home” and the clock was ticking on my lease’s expiration. I, like anyone, got discouraged. I started to think that maybe this wasn’t the best time to buy, and even started looking at renting again for another year. In the midst of this, I reached out to Laura and told her that I’d be interested to see if there are any new build properties that fit within my budget. It was crazy- what we thought would be a slow time in the marketplace it was actually the busiest! Not to mention, it also encouraged me to be more interested in investing because let me tell you, I wish I had $260k in cash to just buy a home outright!

A couple of short days later, Laura had a list of 3 different properties for me to visit. I visited the first one and wasn’t that impressed. The homes were super boxy and just not my style. Also, my backyard would’ve been a steep hill down to a busy road. Not ideal. I still explored all other options before I headed out, just to be safe. When I got in my car I couldn’t help but think to myself, “how hard is it to find what I want?” I’m sure you’re wondering, so here’s what I was looking for…

It’s easy…I’m not super complex…

  1. I wanted an open concept. I enjoy hosting and there’s nothing that beats the ability of everyone to be able to see and interact with one another in a common space.
  2. I wanted an updated kitchen with ample counter space, along with storage. A walk-in pantry would’ve been a huge bonus but it wasn’t something that I needed.
  3. Through my searches, I fell in love with the ranch style home and as a result began the search solely for one level homes. Two-levels wasn’t out of the equation, but it wasn’t a huge want.
  4. Yard space to be able to take the party outside, or just enough space to build an outdoor oasis that can serve as a mini getaway spot. Having my yard face another house didn’t really make me feel the warm and fuzzies.
  5. Last, I wanted a 2 car garage. I love to build and create, and to have space that can double as a workshop and a garage was huge.

I kept thinking about everything I wanted. As I was driving to see what was probably by 40th house, I remember feeling discouraged. I felt as though I lost the battle to the pre-owned market, having multiple offers refused. Now that I’ve started looking at new builds, I felt as though I was beginning to lose that one, too.

I pulled up to the second new complex and as I got out, I was greeted by their sales agent. He didn’t waste anytime. We went straight across the street where he began to give me a tour of an unfinished home, but it was complete enough where I could get a great idea of what it would look like. As I walked through the home I couldn’t help but think about everything I saw leading up to this moment, and all of the things I said I loved about each of them existing together within this home. Y’all, this home not only met all of my wants but there were added items that were nice to haves based on my previous viewings. I think it was safe to say, this was my home. I could feel it. I called Laura immediately and told her, and wasted no time to go back into the sales office to begin the process.

My future first home.

In a short 45 days, it was closing day! The process leading up to this day was beyond smooth. I got an amazing deal on a brand new house, and all of the pieces of the puzzle went together in the blink of an eye. I left the mortgage attorney’s office and remember feeling so full of joy. I also felt proud of myself. I was proud that I stuck it out and remained so focused on my goal that I didn’t give up. I cried as I got into my car and headed to get a U-Haul truck so I could get back to my apartment to meet up some of my amazing friends that were kind enough to help me move.

As the moving came to an end, pizza and drinks were in order and boxes started getting opened and unpacked…until…a bad storm rolled in and knocked the power out! So…we went into the garage and opened it since there was still some daylight, and setup a spot with lawn chairs and set up the Blockbuster game on an empty box. We ended up having a blast, and it’s one of those times I’ll remember for the rest of my life. I remember feeling grateful for an amazing group of friends, and what I didn’t know at the time…an amazing soon-to-be significant other, too! (stay tuned for a future post!)

If you haven’t played the Blockbuster game, you’re missing out! Such a fun game!

As you can imagine, with a brand new home comes a lot of blank walls and open spaces. As my boyfriend says, empty spaces drive creativity and he was certainly not wrong. The emptiness recharged the passion I have for building, designing, painting, and transforming spaces!

If you’re interested in DIY projects, and seeing spaces transform within a budget then you’re in the right place! Subscribe to my blog and stay tuned for all of the awesomeness I will achieve in this new space, turning the white walls and blank spaces into little nooks of function and fun.

Until then, if you’ve been thinking about tackling a project but you’re nervous about how it may come out. Just do it. After all, you’ll never know what you can do until you try 😉

Lydia